| Article number: |
6B8396H-0.25 |
| Availability: |
In stock
(2)
|
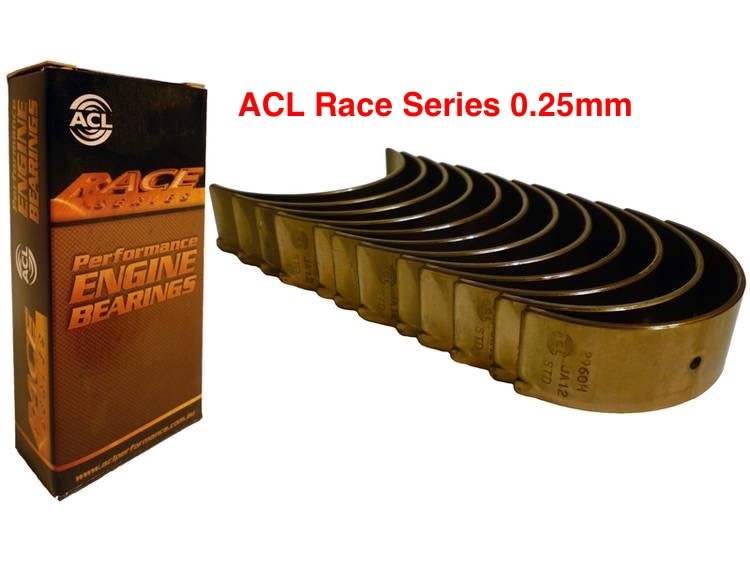
ACL Racing Series -0.25mm Size Connecting Rod Bearings / Big End Bearings - for the Toyota 1PZ, 1HZ, 1HDT & 1HDFT -
0.25mm Undersize bearings
other undersizes available, please contact us to order - -0.025mm
Link: Factory Service Manual pages relating to replacing the connecting rod bearings
ACL Race Series Connecting Rod bearings are generally considered to be the strongest rod bearings available for your 4.2L Toyota 1HDT, 1HZ, or 1HDFT engine.
Pro Tip: Use a small piece of green plastigage when installing each bearing to ensure you have a perfect fit with the proper oil clearance. Follow the instructions in the Factory Service Manual carefully when installing new engine bearings.
Note: We recommend replacing your rod bolts when you replace the bearings. See part number: 13265-17010
Kit Contents:
• 6B8396H-0.25mm ACL Race Series Rod Bearings
• Installation information from the 1HDT/1HZ engine manual (by request)
Toyota pn:
13041-17010 -0.25mm U/S
Note: Aftermarket replacement rod bearings do not have the various size markings that the genuine bearings use.
ACL Race Series - Made in Australia
6B8396H-0.25
Other items you'll need to do this task:
- Form in place gasket maker (aka FIPG) - I would suggest Permatex "The Right Stuff"
- An oil filter and 10L of oil to replace what you had to drain.
- Several spray cans of a degreaser. I'd suggest an environmentally friendly "brake cleaner" solvent. This can also be used to soften the FIPG when you are removing it.
- A decent pile of shop rages to wipe up oil and clean surfaces.
- Tools for the job, which includes a torque angle meter and a paint marker, along with something to carefully wedge the pan away from the block (a very stiff putty knife can do this, but an oil pan wedge/separator tool is better)
Allow 6-8 hours as a DIY job.
You will need fresh oil (10L) and an oil filter.
The best sealant I have used is the Permatex product called "The Right Stuff" in black.
You will also need at least a couple of cans of brake cleaner, a small strip of green plasti-gauge, as well as some assembly lube, a good supply of shop rags, and torque angle meter or a paint marker to use with your torque wrench to mark the rod bolts on reassembly.
If you are doing this job for the second time, or you do not know the status of your rod bolts - replace them!! Yes, they can be measured, but I would strongly advise replacing them as they are a torque to yield bolt and deform slightly as they are brought up to the torque and can fail when re-used. In my own shop, when doing this for clients, the rod bolts always get replaced - it's cheap insurance against an expensive engine.
To remove the pan, drain the oil and then remove your oil level sensor unless you can be very careful not to damage it. The float is fragile and can break. It's easier to remove the sensor than to break it and regret it after the fact.
Then, remove all the nuts and bolts holding the pan on, get the brackets out of the way too. Next, carefully with a fire extinguisher nearby (don't set things on fire!!), warm up the oil pan gasket with a propane torch, focusing on one of the corners where you will start breaking the seal on the pan. The goal is to get the sealed part of the pan quite warm to the touch (doesn't take too long - but go slowly and carefully). Then insert some kind of a wedge to break the sealant. Be very careful with metal tool to not bend the pan or scar the mating surfaces.
Then do the rest of the work according to the service manual
8483.30
2022 01 12
BEB, BEBs, Connecting rod
")
 - 6B8396H-0.25")
 - 6B8396H-STD")

 - 13204-17010 -0.25")
 - 13205-17010 -0.50")
")
 - 6B8396-STD")
 - 6B8396H-0.025")

")